Day 3: Types of Clouds
Objective:
Student will
Materials:
Cloud Watcher worksheet (inside of interactive notebooks)
Label the Clouds worksheet
1 piece of construction paper per student
scissors (1 per student)
*If making alternate foldable:
1 sheet of blue contstruction paper per student
scissors
White crayon (per student) or white paper (ps) for clouds
Instruction:
As a class discuss the different ways that clouds can look in the sky. Ask students to draw examples on board as they give their answers, or teacher can draw examples. Hand out the "Label the Clouds" worksheet to each student. As a class, go over the names and definitions of each type of cloud. Divide the class into small groups (about 3 or 4 students per group). Have groups work together at desk identifying the cloud pictures with the cloud names. When each group is finished, review answers as a whole class to make sure that each student has each cloud properly identified.
When proper names have been written under each cloud picture, students will cut out the 6 individual clouds squares along with their names to make a Cloud Finder.
Student will
- Observe and record daily weather conditions, such as sunny, cloudy, windy, rainy, or snowy
- Describe weather in terms of temperature, wind, and precipitation
- Evaluate the influence of daily weather conditions on personal activities and dress
- Identify common types of storms. Examples include hurricanes, tornadoes, blizzards, and thunderstorms
Materials:
Cloud Watcher worksheet (inside of interactive notebooks)
Label the Clouds worksheet
1 piece of construction paper per student
scissors (1 per student)
*If making alternate foldable:
1 sheet of blue contstruction paper per student
scissors
White crayon (per student) or white paper (ps) for clouds
Instruction:
As a class discuss the different ways that clouds can look in the sky. Ask students to draw examples on board as they give their answers, or teacher can draw examples. Hand out the "Label the Clouds" worksheet to each student. As a class, go over the names and definitions of each type of cloud. Divide the class into small groups (about 3 or 4 students per group). Have groups work together at desk identifying the cloud pictures with the cloud names. When each group is finished, review answers as a whole class to make sure that each student has each cloud properly identified.
When proper names have been written under each cloud picture, students will cut out the 6 individual clouds squares along with their names to make a Cloud Finder.

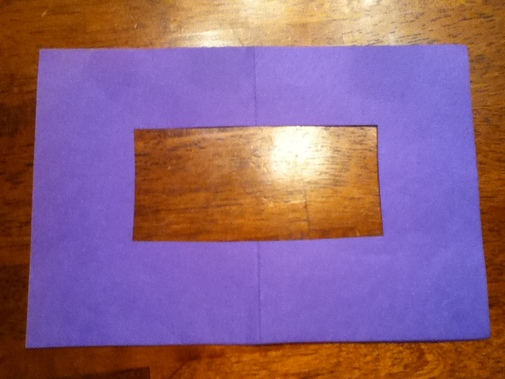
Have each student fold his or her paper in half.
Then each student cuts a square out of the middle of the paper on the fold.
Have students open up the paper to lay flat. Each sheet should have a nice rectangle cut out of the middle of his or her paper.
Then each student cuts a square out of the middle of the paper on the fold.
Have students open up the paper to lay flat. Each sheet should have a nice rectangle cut out of the middle of his or her paper.
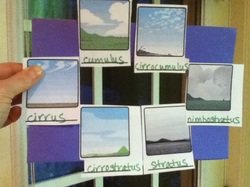
Next have students glue each of the 6 different clouds onto the outside border of the construction paper frame.
Now students have a "Cloud Finder" to identify which clouds are in the sky. Great way to predict what the weather is going to be like later in the day!
Now students have a "Cloud Finder" to identify which clouds are in the sky. Great way to predict what the weather is going to be like later in the day!
Assessment:
Teacher will look for the correct names written under each cloud picture. Teacher will also check to make sure that the "Cloud Finder" is assembled according to directions.
Resources:
Cloud Watcher worksheet (from previous days)
Label the Clouds worksheet
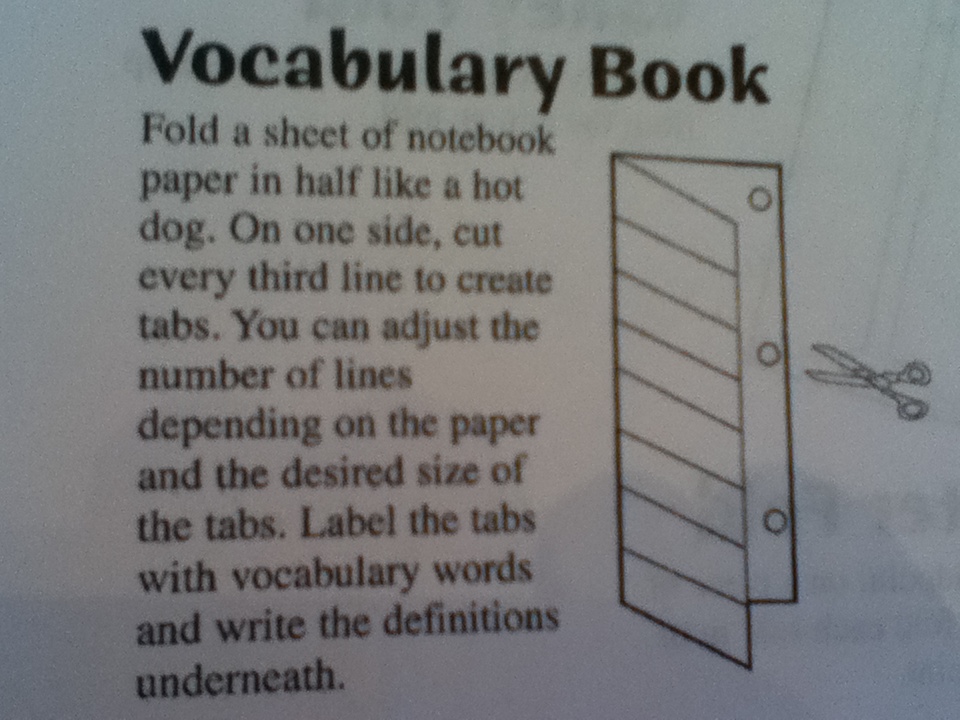
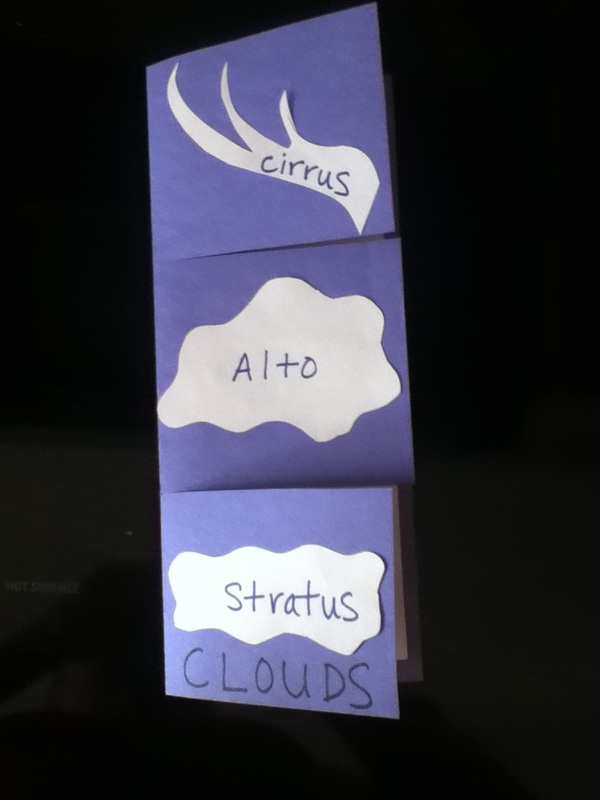
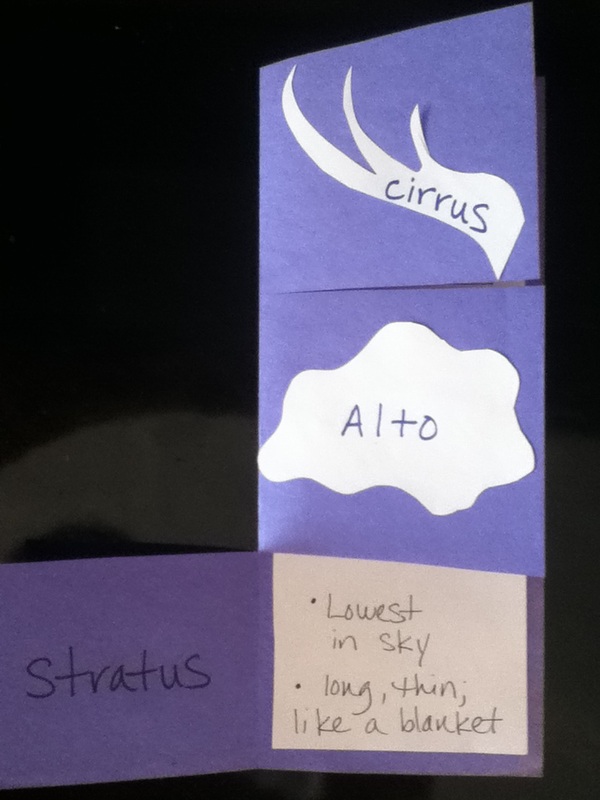
*Students could also make a foldable to identify the 3 main types of clouds during this lesson:
Teacher will look for the correct names written under each cloud picture. Teacher will also check to make sure that the "Cloud Finder" is assembled according to directions.
Resources:
Cloud Watcher worksheet (from previous days)
Label the Clouds worksheet
*Students could also make a foldable to identify the 3 main types of clouds during this lesson:
|
|
|
